Monday, November 28, 2011

DIY Hand Sanitizer Labels!

So I started thinking the other day that I use hand sanitizer ALOT! 
& I know I'm not the only one.
I got to thinking, I want hand sanitizer that is seasonal, 
so I said, 'Why not! I'll try it' 


So here's what you'll need....
Not to discredit anyone, I'll put up the original hand sanitizer bottle
that I used from Main Street Collection. 


You'll need a 2 oz bottle of hand sanitizer
1" by 3" sticky labels of your choice
an ink pad
and seasonal stamps

I got everything I needed at Wal Mart and the sanitizer at a local Davis Drug Store. 

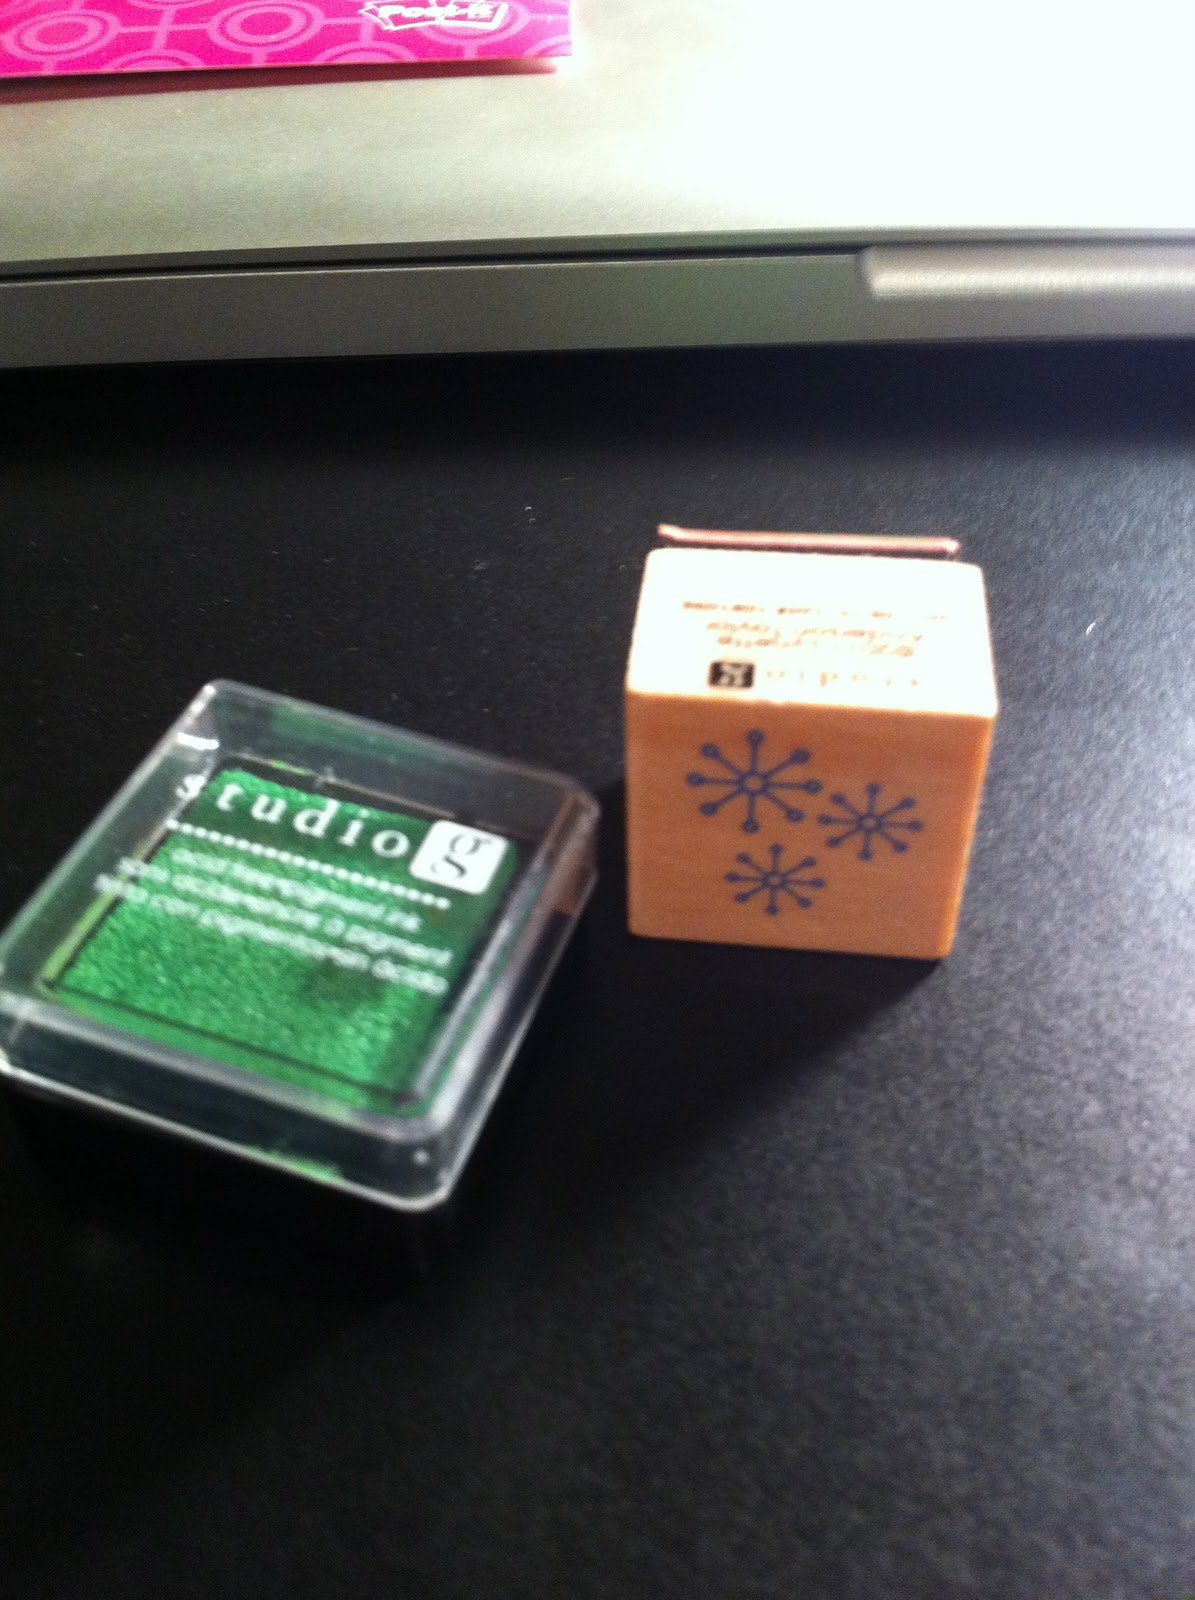
These ink pads and stamps come in a pack for 97cents at WalMart! Love them! 

So first you'll peel off the original label, front and back.
Then you'll take your ink pad and stamp, dip the stamp in the ink
and stamp on your label vertically. 


I also picked up some 97cent letter stamps! 


They are so much fun!


After stamping you'll get something that looks like this...


You'll then, stick it vertically along the bottle and trim off the edges that don't fit. 

And there you go....


These make great little gifts and stocking stuffers for Christmas!
You can personalize them and design them however you like! 
Enjoy! 

Tuesday, November 22, 2011

Remodeled Composition Books!

I ran to Wal-Mart yesterday and pick up some spray craft adhesive, 
and some plain and boring composition books! 
I also had some cool scrapbook paper on hand thanks to Donna Gannon! 
I love notebooks and school supplies so when I saw an idea like this
on http://yesteachercrafts.blogspot.com/ I jumped all over it!! 


So what you'll need is a composition book, 
spray adhesive, glue, or mod podge, 
scrapbook paper, scissors, and a ruler. 


First what you'll do is measure you're composition book 
and then cut you scrapbook paper to these measurements. 
You'll need to make sure you cut two pieces for the front and back. 


Next you'll spray the adhesive on the paper 
or spread your glue or mod podge on the paper, 
and stick in to the front and back of the book leaving the black binding showing.

Then I had to trim my edges where some of the paper hung off. 


Let it dry for about five minutes and.....


There you go! 


Enjoy! 


Thursday, November 17, 2011

Puffy Paint Frame!

Last night I started working on a new project! I knew I wanted to do something 
with this printable I downloaded the other day! 


You should visit www.art-is-fun.com to download your free printable! 

Next I used my crayons to color!!


Then I ran to wal-mart and picked up a $1 8x10 frame, 
and I taped paper over the glass, you'll see why.


I then used my handy-dandy puffy paint to create a 3-D design! 


You'll want to squeeze it on pretty thick so that it will rise!
I let it dry overnight! 

Then today I used my handy-dandy spray paint to paint over the design! 


I let the paint dry for about 30mins. 
& I slipped in my coloring page! 

This is what the design looked like....


And there you go!! 


Enjoy!!


Wednesday, November 16, 2011

Puffy Paint Vase!

Today I ran to Wal-Mart and I saw the puffy paint sitting on the shelf calling my name! I picked up one small bottle and it was like 89cents! Then I ran over and got a small vase for $1. 
I decided on the project of a puffy paint vase! I haven't ever done anything like this before 
so I hope it didn't turn out to bad, and I hope that you'll try it for yourself!

So, what you'll need it your puffy paint and a small vase!
A grand total of $2! 


There is really no preparation for this project, you just start free-handing it however you want. 
You can write on your vase, or do anything you like. 
I decided to do a free-handed swirly pattern! 


I ended up just working my way around the vase. 
It took me about an hour. 


Then I picked up some 98cent fake flowers, because, sadly I didn't have any real ones.
But this is the final look.....


I hope you try this for yourself! 
Super fun, creative and cheap.
Enjoy!


Tuesday, November 15, 2011

T-Shirt Necklace!

Welcome back! I've seen this idea many many times 
and I finally couldn't wait to try it for myself!

What you'll need for this project is really simple and shouldn't cost you a dime!
You'll need an old large or x-large t-shirt made of 100% cotton and a pair of scissors. 


First you'll cut the bottom fold/seam of the shirt off.


Then you'll lay the shirt flat and cut a 1/2" to 1" strip on the down the side of
 the shirt horizontally, that way you cut the front and back of the shirt in one strip.


It will make a large, intact circle of fabric. 
Then, you'll take the strip that you cut, and strongly stretch it until 
the edges of the fabric fold around themselves. 


You can just use your hands, but I decided to put one side on a handle 
and then pull it. 

After you've cut 10 strips or more, you can layer them however you want 
and then bunch them. Then secure with a spare 
piece of fabric by tying it in a knot. 


Now just slip it on and there you go!
You have your own t-shirt necklace! 


Enjoy! 


Monday, November 14, 2011

School Supplies Remodeled!

Okay, so I absolutely love school supplies! They are one on my many obsessions! 
I decided I would take some of my old supplies and remodel them! 
I hope this post inspires you to do the same! 


First, you will need scrapbook paper, or thin fabric
scissors
mod podge or glue
and your old supplies!  


First I cut the scrapbook paper close to the length and width of my clip. 


Next, I put just a dab of mod podge on the back of the paper, and pressed it to the clip. 


Then, I folded the paper over and let it dry on the clip. 


After it dried I cut the spare edges, and then pushed them inside the edges of the clip, 
and this was the result! 

 
I also did the same thing but with these paper clips. 


I cut the paper, put the mod podge on the back, 
and then pressed it to the top of the paperclip and let it dry.


I folded the spare edges over after I trimmed them! 


 and this was the result....


I hope you have as much fun with this as I did! Next time you think about 
throwing out your old school supplies, just reconsider and give them a makeover! 


Enjoy!